New Reduction Linocut in Online Show at O’Hanlon Center for the Arts

I’m pleased to have one of my most recent linocut prints in a new online gallery show at Mill Valley’s O’Hanlon Center for the Arts. My new reduction lino print was made in March-April, 2020 during California’s shelter-in-place order for the COVID-19 pandemic.
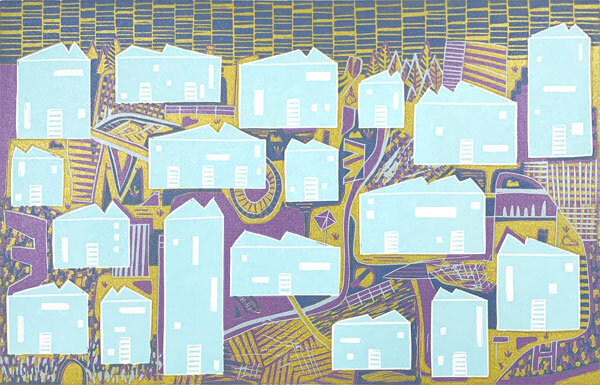
“March” - Reduction Linocut Print Made During the COVID-19 Pandemic

“March” - Reduction Linocut Print Made During the COVID-19 Pandemic

If you’re curious about the process of making the print, I posted work in progress photos on Instagram that you might want to check out (after the third layer and after the fourth layer), as well as a short carving video.

The art show is titled, Humankind in Crisis, and this is how they’ve described the current show:

“Artists throughout time have responded to their world with a visual understanding that speaks to our collective feelings and emotions. Art has the capacity to go deeper and touch us in ways that news reports and charts cannot. This show represents how the current extreme, frightening, life-altering crisis is manifesting in our artists’ work created between March 1 and April 20, 2020.”

The O’Hanlon Center is hosting an online roundtable discussion on May 5 (4:00 PM PST) via Zoom. Go to the O’Hanlon Center website to see the artworks in the show, join the Zoom call, or download the show program. Thanks!

O'Hanlon Center Humankind in Crisis Art Show.jpg
Abstract Aerial Landscape Art - Linocut Print Series

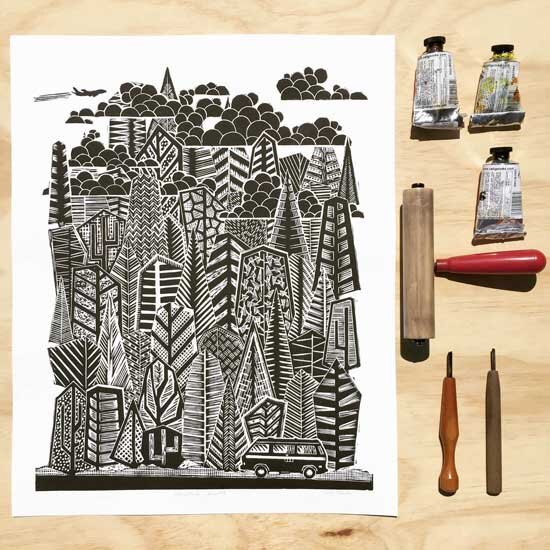
I’ve started a series of abstract aerial landscape linocut prints that I’ve been working on since last year. They’re original artworks made from hand-carved linoleum blocks and I have three in the series so far.

As I’ve talked about before, I try to take a lot of photos out of the airplane window every time I fly. I love that view. Earlier this year, I was reading a library book about Georgia O’Keeffe and was surprised to find out that she too was inspired by views from the airplane window.

I’ve titled the series, “Aloft,” and these are the first three abstract lino prints.


This is a short video of me printing Aloft II from linoleum blocks on an etching press in my printmaking studio. I used the same process for each of the prints in the series.


I’ve done a lot of work drawn from my passion for plane flight - you might be interested in these past posts:

Making a New Jigsaw Linocut Print

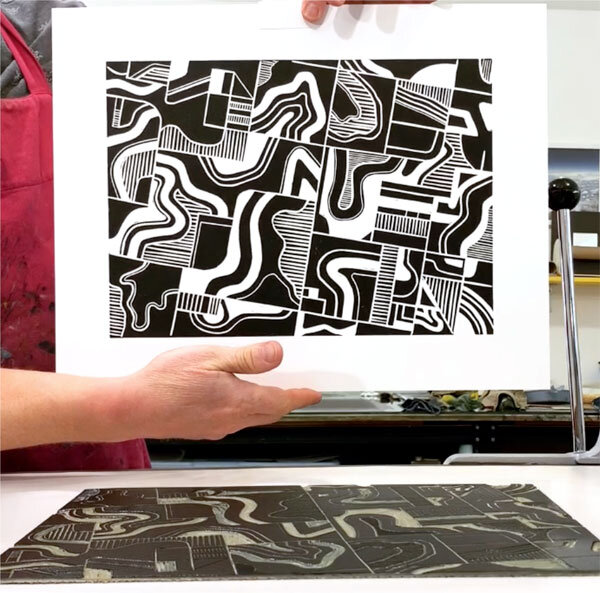
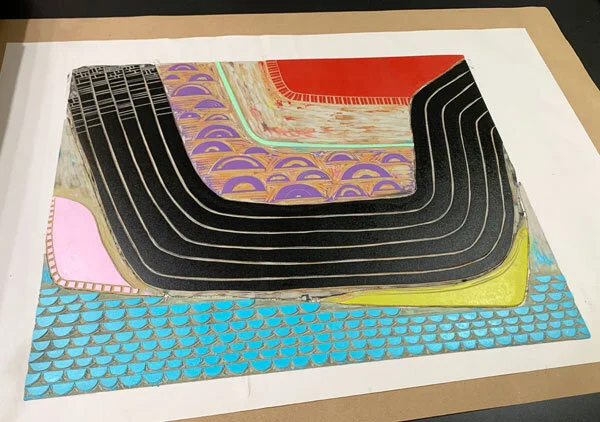
I recently finished a large lino print using my Conrad monotype press. It was the first big linocut I made on it. The linoleum cut print was made using the jigsaw method - a great way to make multi-color prints. Essentially, with this technique you cut your linoleum block into pieces, which are then inked separately, and put back together (like a jigsaw) before printing.

First layer of an assembled jigsaw linocut.

First layer of an assembled jigsaw linocut.

Here are some tips that I’ve learned when making jigsaw lino prints with unmounted linoleum:

  • Starting with a whole piece of linoleum, I usually first deeply carve the outline of the jigsaw pieces with a v-gouge.

  • If I’m not trying to be too exact, I might use some good sissors to cut out the shapes. If I want more precise cuts, I use a wood carving or X-Acto knife.

  • Trim any stray bits of burlap that overhang the edges.

  • Ink the lino pieces separately before assembling them into a whole.

  • Draw an outline of the assembled jigsaw on a piece of newsprint. In other words, if it’s a 11”x14” print, I’d draw an 11”x14” rectangle on newsprint. This gets placed underneath the inked jigsaw pieces so when you go to place the inked blocks down to print, you know they all need to fit within this outline.

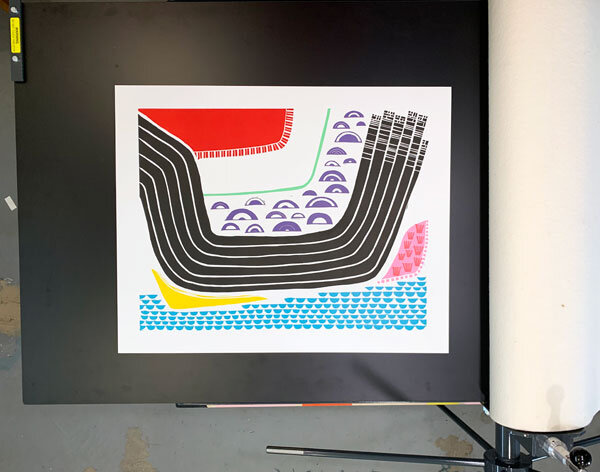
On the pink section of my new 30”x 24” linocut print in the photo, I did a reduction and printed a second pattern on top. This is the final linoleum cut print.

Finished jigsaw linocut print

Finished jigsaw linocut print

New Conrad Monotype Press

Earlier this year, I was thrilled to receive my new 36” x 54” tabletop monotype press from Michigan’s Conrad Machine Co. It came, via a freight carrier, disassembled and carefully packed in two crates. The press and workbench were packed together and there was a separate, flat crated press bed. In total, they weighed a little more than 600 lbs.

Conrad Monotype Press with Stand

Conrad Monotype Press with Stand

The first, and most urgent challenge was uncrating the components and moving them into the studio before it rained. I could only have done it with the help of my amazing wife. Some of the reasons I chose this particular press over a traditional etching press is that it weighs less and can be moved through a standard-width door in pieces.

The delivery of my crated Conrad Monotype Press. There was a separate flat press bed crate, too (not in the picture).

The delivery of my crated Conrad Monotype Press. There was a separate flat press bed crate, too (not in the picture).

Over the coming days, I put together the steel stand, which has hefty casters, and mounted the press to the 3/4” plywood bench top that I had custom cut at a local lumber shop. I decided to paint the top with a multi-color geometric design. This is how it turned out, all set up.

Overall, I’m impressed by the quality of the press. When I ordered it over the phone with Conrad, it was nice to be able to ask questions and customize the press how I wanted. If you’re ever ordering one of these, keep in mind that it can take many months to fulfill an order based on my experience. I’ve only used it a little since I got it but I’m really excited to print some big linocuts.

25 Easy Design Ideas for Linoleum Block Printing Patterns

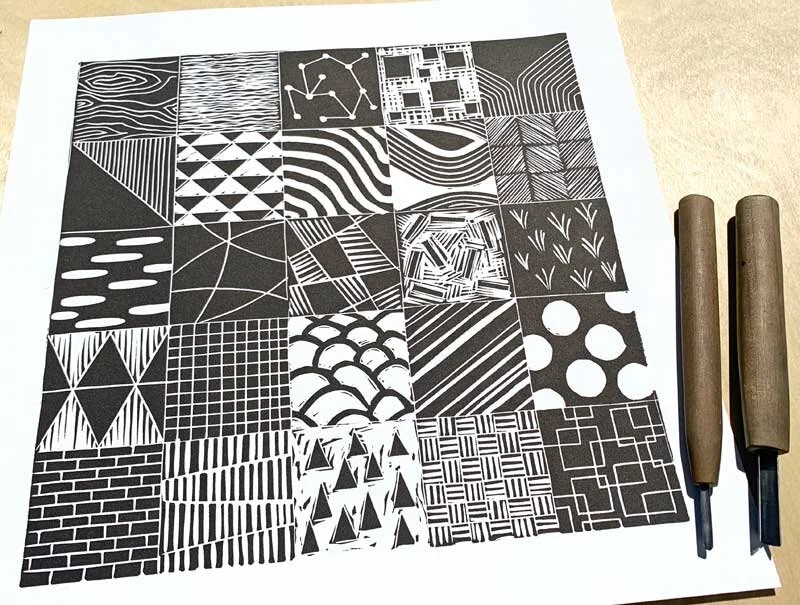
I finally finished a project I’ve been planning for a while - a print showing a variety of linocut pattern examples. It’s for students in my How to Linocut online class, who can download the print as a PDF. I came up with 25 black and white block printing patterns including grid, circle, line, dot, square and triangle designs.

The monochromatic lino print designs were carved in a block with U- and V-gouges and the photo below shows what I came up with.

Simple Lino Print Pattern Designs
Dealing with Ink in the Negative Space of a Linocut Design

One of the challenges when making a linocut is not getting ink in the negative space of your design - assuming you don’t want it there. The negative space is the carved away area of your linoleum block that you don’t want printed. For example, perhaps you want a nice, clean background to your linocut.

A number of students in my beginner’s linocut course have asked about this issue. There’re several ways to help solve this common problem.

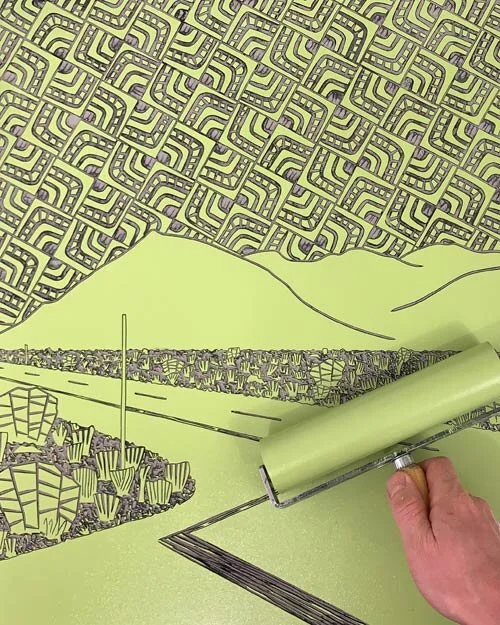
First and foremost, run your fingertip in the cleared negative space (the space you don’t want printed) and feel for high spots. See if you can carve down a little more of the negative space with a “U” gouge, like in this video. Use the widest tool you have at your disposal. This helps with unwanted embossing of the paper, too.

Carving away the linoleum block’s negative space with a “U” gouge.

Carving away the linoleum block’s negative space with a “U” gouge.

Here are some other tips:

  • If I really want a pristine background, I will methodically wipe away any unwanted traces of ink with a rag or Q-tip (cotton swab) before printing.

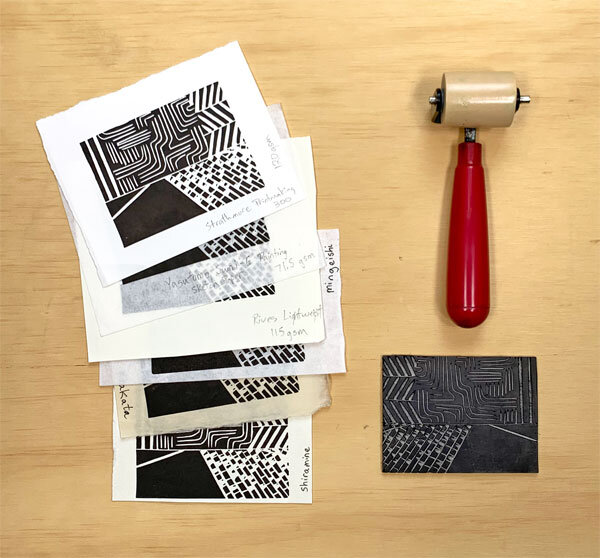
  • Use the narrowest brayer possible to better control where the ink ends up.

  • You can block off the negative space with a small piece of paper, cardstock or tape while inking the rest of the lino block.

  • Take scraps of linoleum and run them along the side of your block when inking it up. This will help keep the brayer from dipping down into the low areas of your block.

  • Cut a basic stencil in the shape of your image out of a scrap piece of paper. Place your stencil over the block before inking. This will help keep ink off outside areas.

  • If you’re printing with a press, keep in mind that press blankets can push the paper into areas you don't want printed or embossed. I put a thin sheet of MDF wood on top of my paper before putting just one press blanket on top of that.