

I recently bought an Essdee soft rubber brayer to try out for linocut printmaking. It’s the two-inch wide version with a blue handle. If it works well, I’d like to get the four or six-inch roller, too.
New Essdee Soft Rubber Lino Printing Brayer

Welcome to my linocut printmaking blog. I’ve been writing since 2011 so if you’d like to browse or keyword search my archives you can take a look…thanks!
Ink | Paper | Press | Shirts (Fabric) | Tools
I recently bought an Essdee soft rubber brayer to try out for linocut printmaking. It’s the two-inch wide version with a blue handle. If it works well, I’d like to get the four or six-inch roller, too.
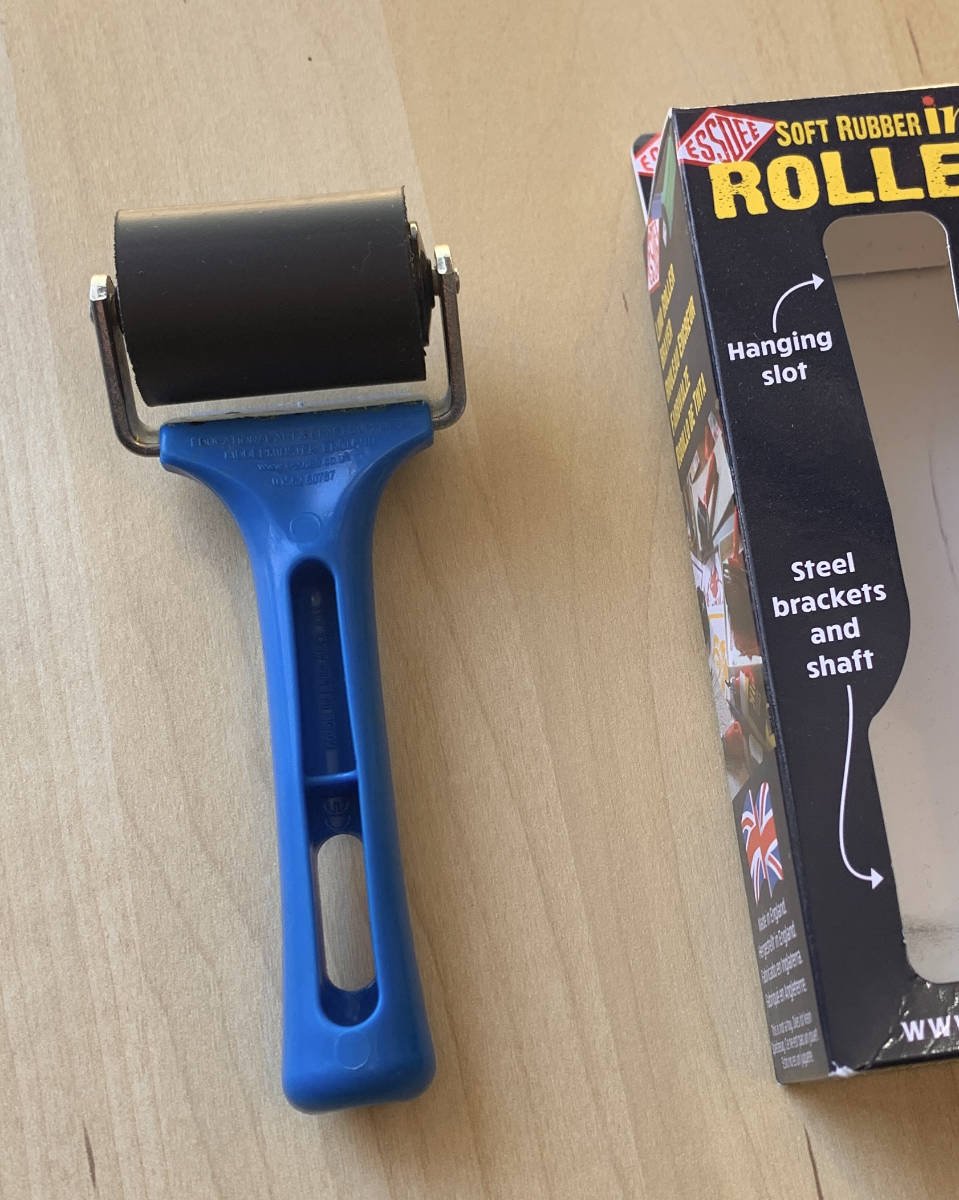
New Essdee Soft Rubber Lino Printing Brayer
I’ve been on a search for new brayers (rollers) for lino printing and have bought four since early last year. This includes a 2” Takach hand brayer (35D) and a less expensive 2.4” ABIG inking roller. I’m trying them out on different linocuts and hoping to retire some of my old Speedball soft rubber brayers.
Down the road, I’ll write a long post with a review of brayers - big and small. In the meantime, feel free to send me any questions.
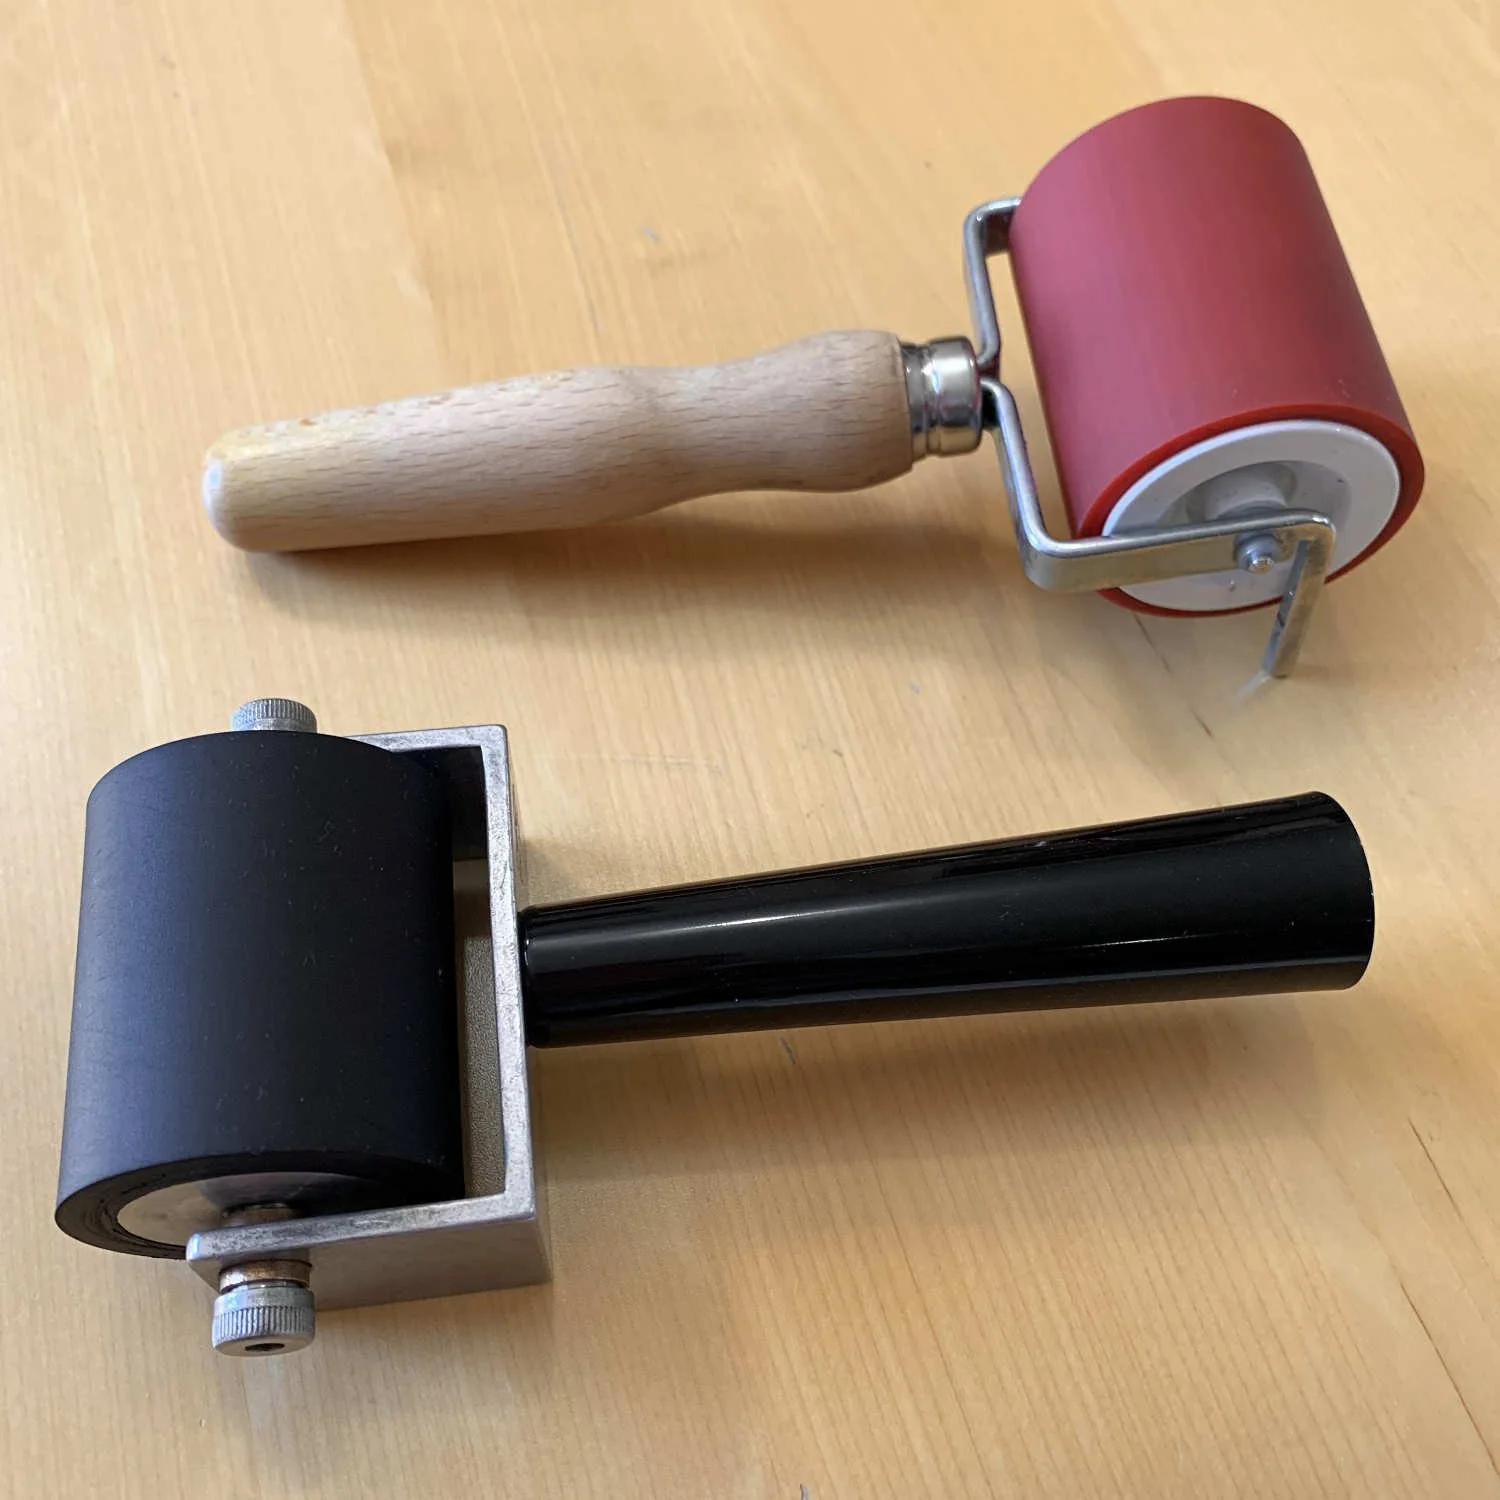
Trying out ABIG and Takach brayers (rollers) for linocut
The lino printing process can be frustrating when things don’t go according to plan - it happens to all of us. I have a few easy tips to help you get that perfect print.
If you notice ink in some of your narrowly carved lines, and these details don’t print clearly, try inking with thinner layers of ink. Roll it on your linoleum block in several thin layers instead of one thick application of ink.
Before you peel your paper fully back from your printed block, carefully peek and check to see if there are areas that need more pressure. Go back and use a little more force on these specific areas, perhaps with the back of a spoon. If you notice a light spot, you might even be able to use a small brayer to roll a little bit of ink on the lino block where you don’t quite have enough. Then, you can reveal your whole print.
Are you trying to print on heavyweight paper with a baren or spoon? If so, try a lightweight paper, which will give you consistently better print results with less effort. I also have a separate blog post all about choosing a good paper when printing by hand.

Inking a Lino Block with a Brayer
One of the challenges when making a linocut is not getting ink in the negative space of your design - assuming you don’t want it there. The negative space is the carved away area of your linoleum block that you don’t want printed. For example, perhaps you want a nice, clean background to your linocut.
A number of students in my beginner’s linocut course have asked about this issue. There’re several ways to help solve this common problem.
First and foremost, run your fingertip in the cleared negative space (the space you don’t want printed) and feel for high spots. See if you can carve down a little more of the negative space with a “U” gouge, like in this video. Use the widest tool you have at your disposal. This helps with unwanted embossing of the paper, too.

Carving away the linoleum block’s negative space with a “U” gouge.
Here are some other tips:
If I really want a pristine background, I will methodically wipe away any unwanted traces of ink with a rag or Q-tip (cotton swab) before printing.
Use the narrowest brayer possible to better control where the ink ends up.
You can block off the negative space with a small piece of paper, cardstock or tape while inking the rest of the lino block.
Take scraps of linoleum and run them along the side of your block when inking it up. This will help keep the brayer from dipping down into the low areas of your block.
Cut a basic stencil in the shape of your image out of a scrap piece of paper. Place your stencil over the block before inking. This will help keep ink off outside areas.
If you’re printing with a press, keep in mind that press blankets can push the paper into areas you don't want printed or embossed. I put a thin sheet of MDF wood on top of my paper before putting just one press blanket on top of that.
This is a new anglerfish linocut print and you'll notice the gradient effect, which is done with a blended (rainbow) roll of the relief printmaking ink. The lino print is now available in my Etsy shop. This short video shows the technique I used for inking up the linoleum block with the blended roll.
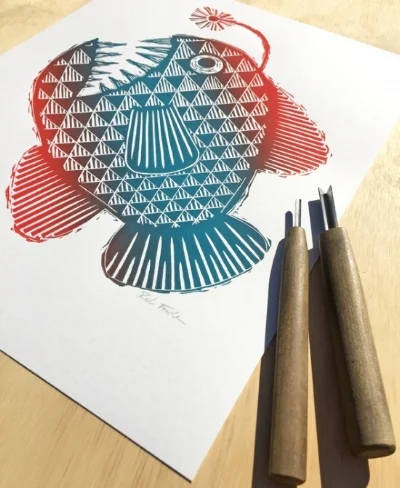
Anglerfish Lino Print
The initial idea for the deep sea print came from my son (and Octonauts superfan) who wanted me to design a new shirt for him and here you can see me printing the block printed t-shirt. I used Gamblin's Drive By Black Textile Ink - a good option for printing on fabric.
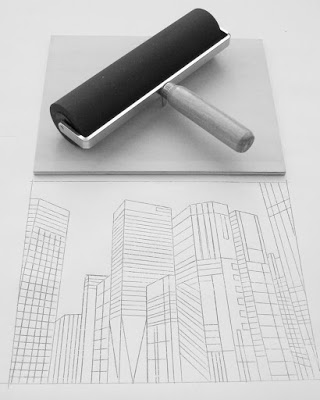
Some people geek out over smartphones, others, designer shoes...me, a new 8-inch, 28-durometer, Japanese printmaking brayer (i.e. the roller in the photo). Yes, I just wanted to use the word 'durometer' in a sentence...great Scrabble word, isn't it. I can't wait to see how this thing rolls out ink. Below is a sketch I'm working on for a new 8"x10" Tokyo-themed woodcut.
A new shipment of paper arrived yesterday, the house is now quiet...it's time to work.