Posts tagged linocut technique
Basic Lino Printing Registration Using Con-Tact Paper

I had one of those happy printmaking accidents in the studio this week that I thought I’d share in case someone else finds it useful. Recently, I was using Con-Tact paper and had been saving the backing paper that gets peeled and thrown away. If you don’t know what Con-Tact paper is, it’s that self-adhesive paper that comes in rolls and people use it to line the bottom of drawers and shelves.

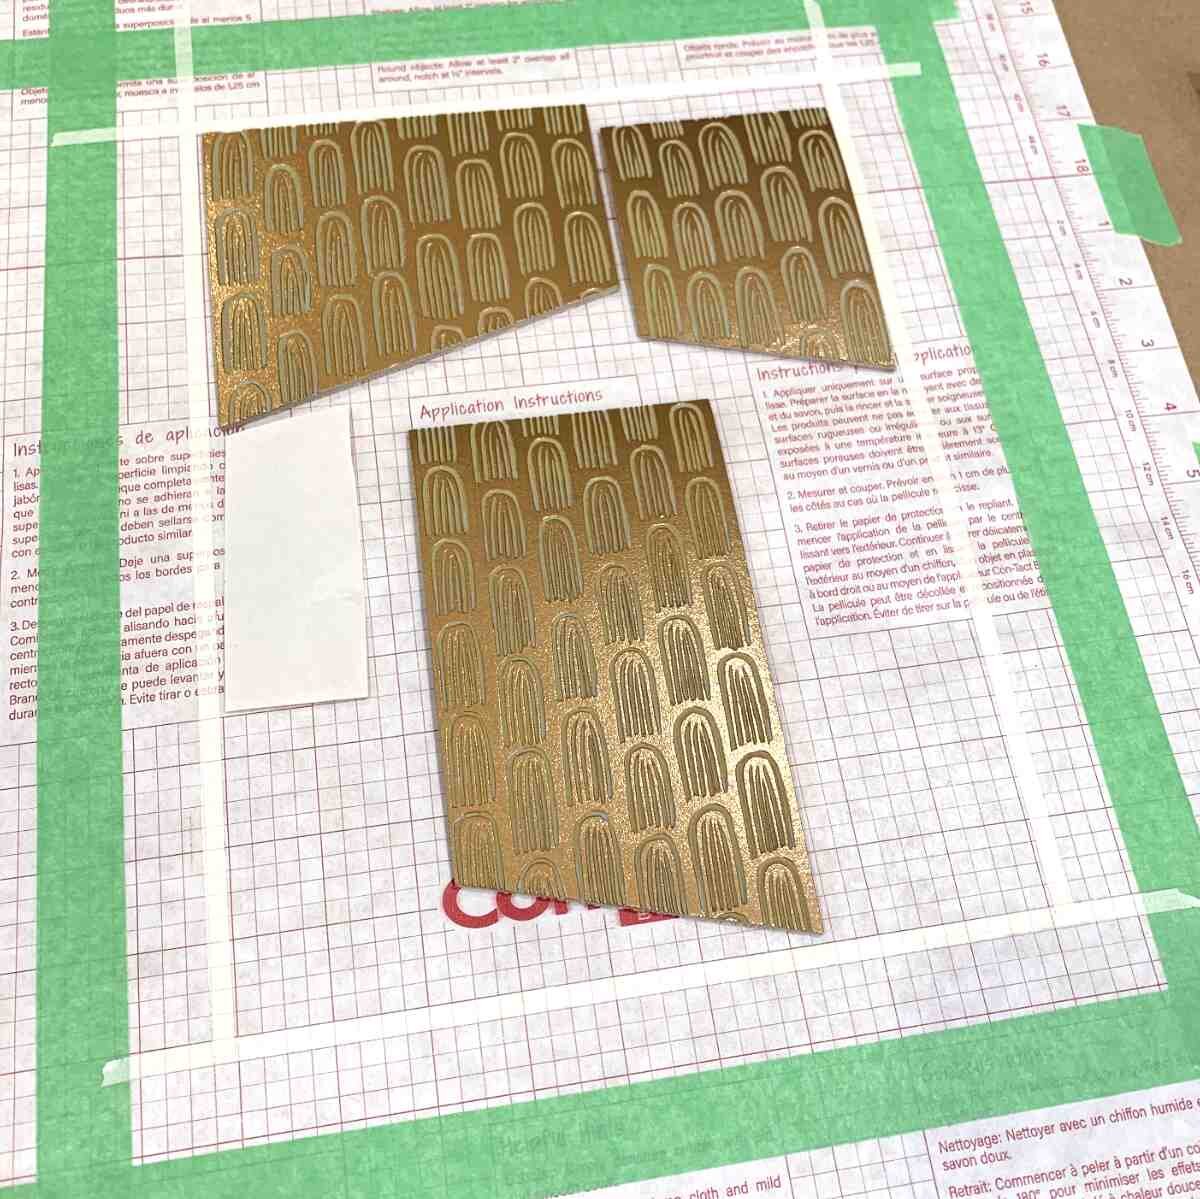
Registering multiple linoleum blocks on the back of Con-Tact paper

Registering multiple linoleum blocks on the back of Con-Tact paper

I’m working on a series of lino prints that requires registering many different linoleum blocks at one time. It occurred to me that the backing paper had a nifty grid printed on it and it might be helpful for lining up my blocks. So, I took a big piece and taped it to my press bed using painters tape. The grid is broken down into 1/4 inch squares.

Linocut Registration Using Gridded Paper

Linocut Registration Using Gridded Paper

In the example in these photos, I lined up my printmaking paper with the grid lines inside the green tape and lined up my inked lino blocks within the thinner, white masking tape. This ensured at least a one inch margin around my linocut print.

An extra benefit of the paper is that it has a somewhat glossy finish, which is nice when working with messy ink.

The gridded paper I was using is from an 18 inch x 9 foot roll of white Con-Tact paper. Specifically, it’s Con-Tact brand adhesive Creative Covering paper - the solid white version. I happen to have it in other patterns (not white) and the grid on those is slightly different, not quite as useful, and has larger squares.

If you have any questions, just let me know!

Carving Linoleum Blocks for New Lino Prints

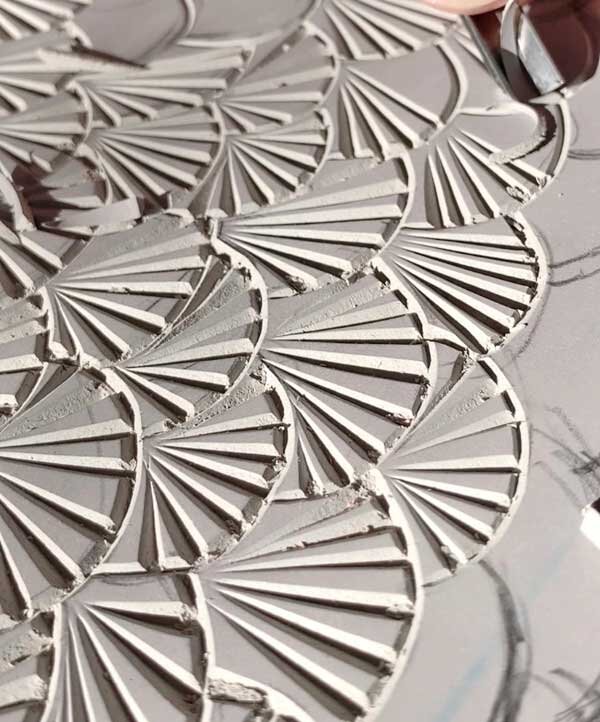
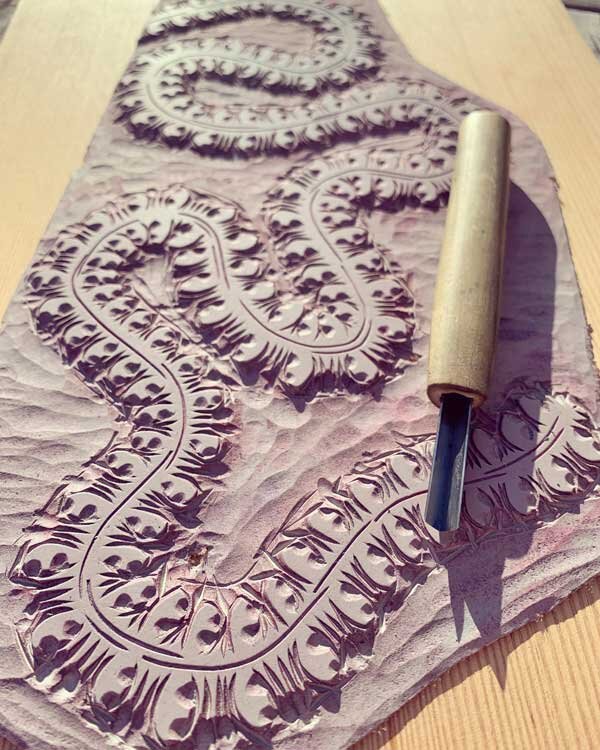
I’ve been working on a lot of linocut projects this year, most of which feature patterning, abstractions, line work or geometric forms. Here’s a small selection of some linocut designs from over the last few months.

They’re all carved in battleship gray linoleum blocks with v- and u-gouge carving tools. A couple of the lino prints are finished and available on Etsy.

Line pattern carved in a linoleum block.

Line pattern carved in a linoleum block.

Geometric design carved in linoleum. The final print is available on Etsy.

Geometric design carved in linoleum. The final print is available on Etsy.

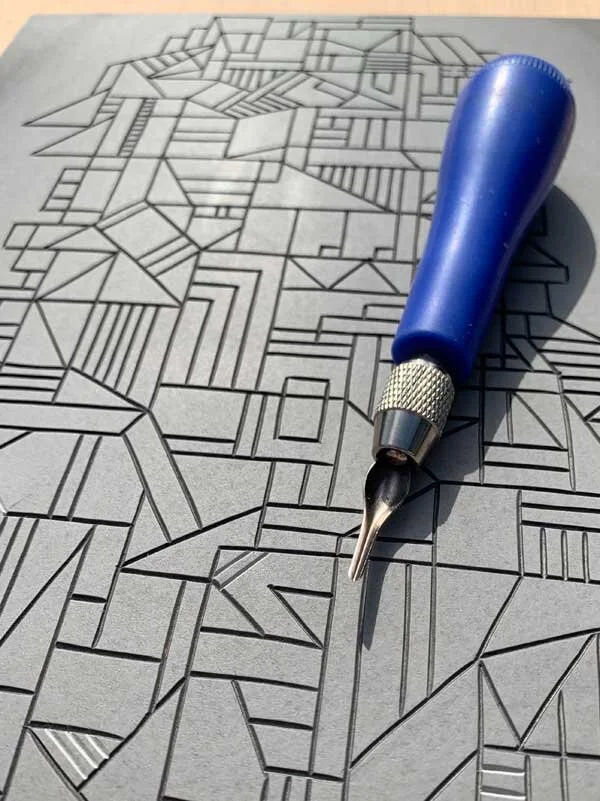
Linocutting a design with a carving tool.

Linocutting a design with a carving tool.

Carved lino block with v-gouge tool. This final lino print is available on Etsy.

Carved lino block with v-gouge tool. This final lino print is available on Etsy.

Making a New Jigsaw Linocut Print

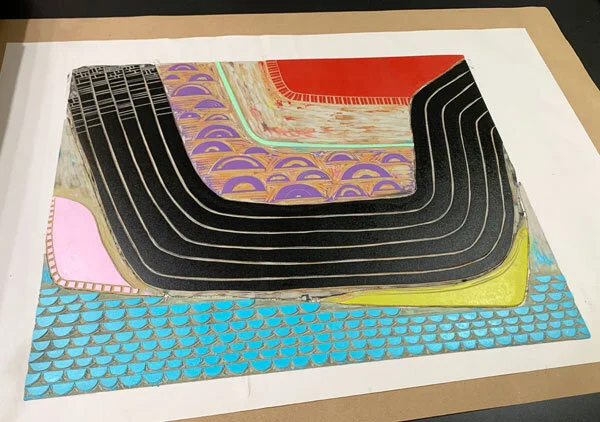
I recently finished a large lino print using my Conrad monotype press. It was the first big linocut I made on it. The linoleum cut print was made using the jigsaw method - a great way to make multi-color prints. Essentially, with this technique you cut your linoleum block into pieces, which are then inked separately, and put back together (like a jigsaw) before printing.

First layer of an assembled jigsaw linocut.

First layer of an assembled jigsaw linocut.

Here are some tips that I’ve learned when making jigsaw lino prints with unmounted linoleum:

  • Starting with a whole piece of linoleum, I usually first deeply carve the outline of the jigsaw pieces with a v-gouge.

  • If I’m not trying to be too exact, I might use some good sissors to cut out the shapes. If I want more precise cuts, I use a wood carving or X-Acto knife.

  • Trim any stray bits of burlap that overhang the edges.

  • Ink the lino pieces separately before assembling them into a whole.

  • Draw an outline of the assembled jigsaw on a piece of newsprint. In other words, if it’s a 11”x14” print, I’d draw an 11”x14” rectangle on newsprint. This gets placed underneath the inked jigsaw pieces so when you go to place the inked blocks down to print, you know they all need to fit within this outline.

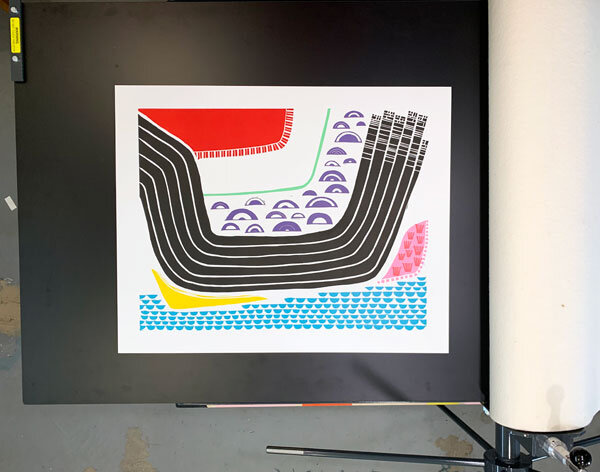
On the pink section of my new 30”x 24” linocut print in the photo, I did a reduction and printed a second pattern on top. This is the final linoleum cut print.

Finished jigsaw linocut print

Finished jigsaw linocut print

25 Easy Design Ideas for Linoleum Block Printing Patterns

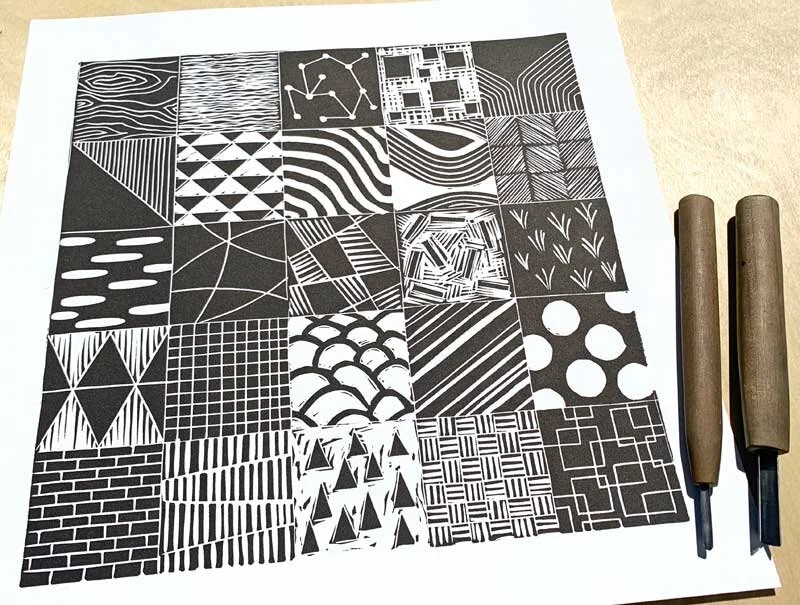
I finally finished a project I’ve been planning for a while - a print showing a variety of linocut pattern examples. It’s for students in my How to Linocut online class, who can download the print as a PDF. I came up with 25 black and white block printing patterns including grid, circle, line, dot, square and triangle designs.

The monochromatic lino print designs were carved in a block with U- and V-gouges and the photo below shows what I came up with.

Simple Lino Print Pattern Designs
Dealing with Ink in the Negative Space of a Linocut Design

One of the challenges when making a linocut is not getting ink in the negative space of your design - assuming you don’t want it there. The negative space is the carved away area of your linoleum block that you don’t want printed. For example, perhaps you want a nice, clean background to your linocut.

A number of students in my beginner’s linocut course have asked about this issue. There’re several ways to help solve this common problem.

First and foremost, run your fingertip in the cleared negative space (the space you don’t want printed) and feel for high spots. See if you can carve down a little more of the negative space with a “U” gouge, like in this video. Use the widest tool you have at your disposal. This helps with unwanted embossing of the paper, too.

Carving away the linoleum block’s negative space with a “U” gouge.

Carving away the linoleum block’s negative space with a “U” gouge.

Here are some other tips:

  • If I really want a pristine background, I will methodically wipe away any unwanted traces of ink with a rag or Q-tip (cotton swab) before printing.

  • Use the narrowest brayer possible to better control where the ink ends up.

  • You can block off the negative space with a small piece of paper, cardstock or tape while inking the rest of the lino block.

  • Take scraps of linoleum and run them along the side of your block when inking it up. This will help keep the brayer from dipping down into the low areas of your block.

  • Cut a basic stencil in the shape of your image out of a scrap piece of paper. Place your stencil over the block before inking. This will help keep ink off outside areas.

  • If you’re printing with a press, keep in mind that press blankets can push the paper into areas you don't want printed or embossed. I put a thin sheet of MDF wood on top of my paper before putting just one press blanket on top of that.

Online Reduction Printmaking Class

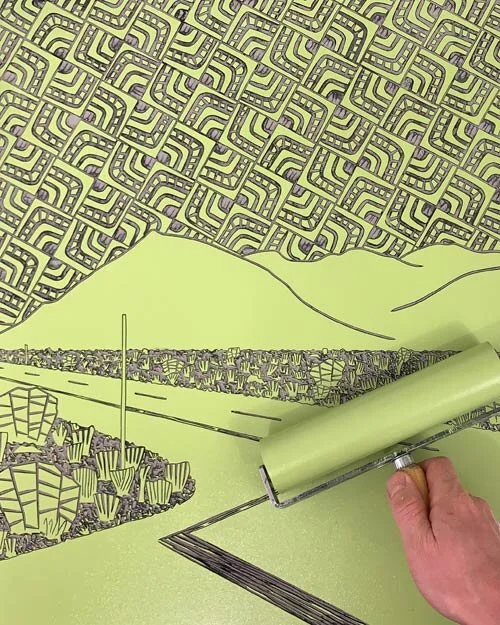
I’m excited to have a follow up to my How to Linocut online course for beginners, it’s an intermediate class all about reduction printmaking! In the class, I walk students through the step-by-step process of making a reduction linocut print. I also show how to make a registration jig. If you want a little background on this printmaking process, check out my reduction printing page.

Example Linocut Print from the Reduction Printing Course

Example Linocut Print from the Reduction Printing Course

I’ve used the reduction printing technique for many years, making prints like this linocut called Solitude II. Here’s a short trailer for the course.

By the end of this class, through practice, you'll be on your way to creating your own reduction prints. Here’s a kind testimonial from a student in the course:

I really enjoyed this course. The presentation was clear, concise and well thought out. Thank you so much!
— Kathryn, How to Make a Reduction Print Student (2018)