

I had one of those happy printmaking accidents in the studio this week that I thought I’d share in case someone else finds it useful. Recently, I was using Con-Tact paper and had been saving the backing paper that gets peeled and thrown away. If you don’t know what Con-Tact paper is, it’s that self-adhesive paper that comes in rolls and people use it to line the bottom of drawers and shelves.
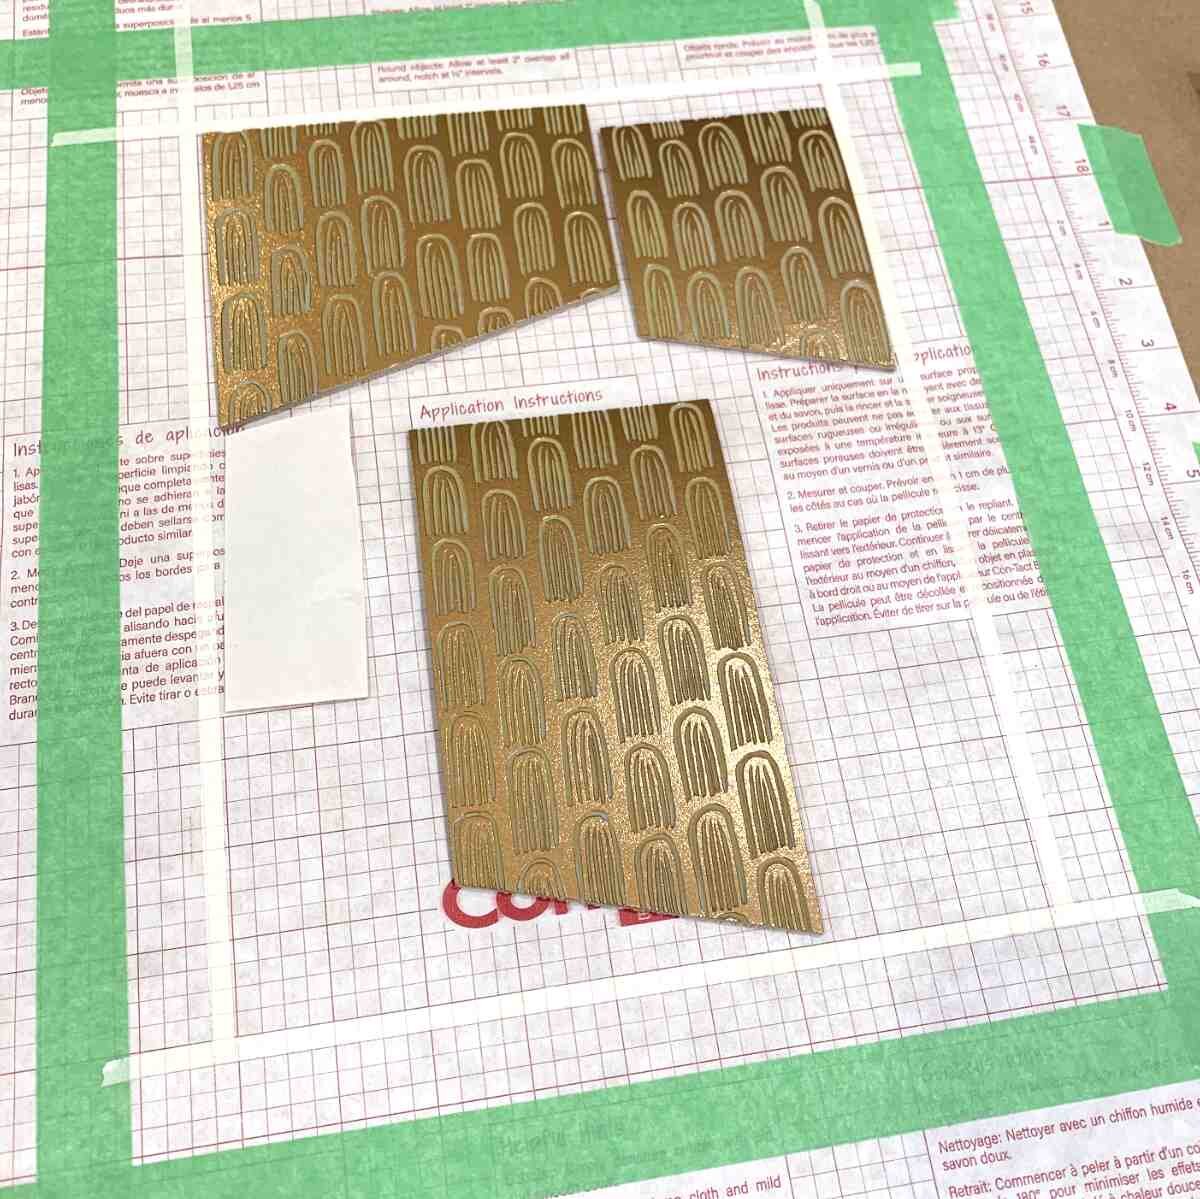
Registering multiple linoleum blocks on the back of Con-Tact paper
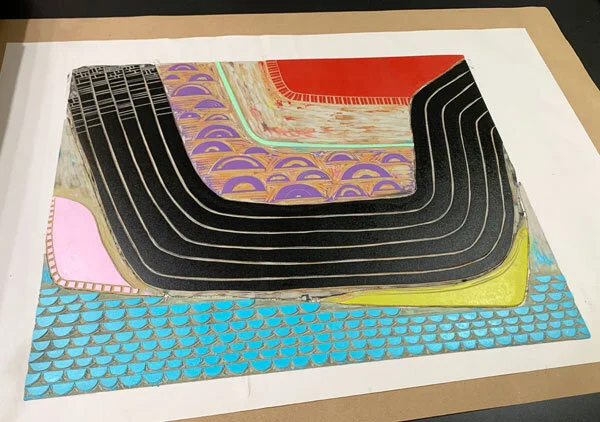
I’m working on a series of lino prints that requires registering many different linoleum blocks at one time. It occurred to me that the backing paper had a nifty grid printed on it and it might be helpful for lining up my blocks. So, I took a big piece and taped it to my press bed using painters tape. The grid is broken down into 1/4 inch squares.

Linocut Registration Using Gridded Paper
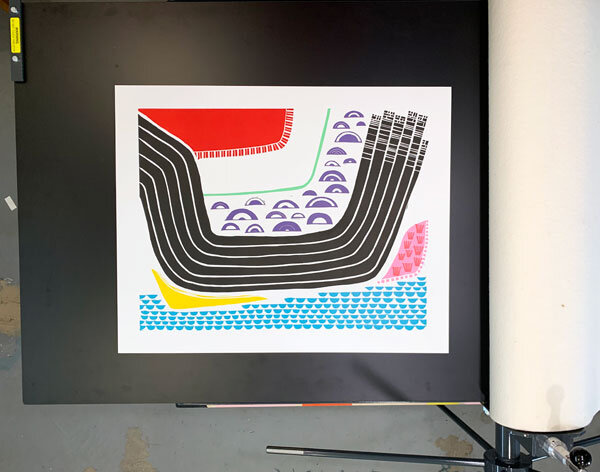
In the example in these photos, I lined up my printmaking paper with the grid lines inside the green tape and lined up my inked lino blocks within the thinner, white masking tape. This ensured at least a one inch margin around my linocut print.
An extra benefit of the paper is that it has a somewhat glossy finish, which is nice when working with messy ink.
The gridded paper I was using is from an 18 inch x 9 foot roll of white Con-Tact paper. Specifically, it’s Con-Tact brand adhesive Creative Covering paper - the solid white version. I happen to have it in other patterns (not white) and the grid on those is slightly different, not quite as useful, and has larger squares.
If you have any questions, just let me know!