Posts tagged work in progress
Working on New Desert Linoleum Block Prints

I’m working on a couple multicolor linocuts of desert landscapes. This one highlights a lot of desert plant patterns and details.

The image below was drawn directly on the 16”x22” linoleum block.

 
Desert Wash Linoleum Block Print WIP

Carving details in the linoleum block with a u-gouge


I came up with a geometric pattern for the sky and carved it with v-gouge tools.

 
Desert Wash Sky Lino Block Print WIP

Geometric linocut pattern used for the desert sky


Here are some Instagram videos of me inking up the desert plants and sky with printmaking ink for test prints.

Airport Departure Board Linocut Underway

Those of you who have followed my work for a while know that I've always been a little obsessed with airports and travel. For instance, I did this world airport map reduction linocut print a few years back. This new lino print is a passion project of mine that I've been thinking about for many years. There's something about looking up at the departure board at airports all over the world that captures my imagination. The departure sign print will be made with three lino blocks - layers of yellow, gray and black. Right now I'm carefully carving the letters and numbers making up the flight numbers, times, destinations, gates and statuses. The basic Speedball linoleum cutter with its smallest "V" gouge is coming in handy for this stage.

Early stages of a new airport departure sign linocut print.

Early stages of a new airport departure sign linocut print.


The Process of Designing, Carving and Printing a Large Linocut for the SFCB

I always look forward to the San Francisco Center for the Book's annual Roadworks Steamroller Printing Festival and I'm excited about being a vendor again at this year's event on September 28, 2014. Last year, I was fortunate enough to have been invited to be a featured artist for their 10th Roadworks Festival. My role was to carve a huge 3-foot square linoleum block that was printed using an awesome old steamroller.

Though it was a challenging project for me, I really enjoyed it and this is how I created my print. The design process started with some small studies - experimenting with subject matter and patterns. I came up with an idea of a cross-section of San Francisco Bay, from the Ferry Building all the way down to the Transbay Tube. Sometimes, when I'm crossing the Bay and not taking in the beautiful view of the Golden Gate Bridge, I think about what is lurking under the water's surface. I then sketched out my preliminary design on a big sheet of paper to help work out some compositional issues. I wasn't used to working in such a large scale - so much space to fill!

I then transferred my image to the lino block and started carving the design. Here are some work in progress shots of my 3-foot linoleum print during the carving stage.

Near the end of the project, I started taking trial proofs of the big print to see what changes I still wanted to make. It was a tiring process because of the block's size and the fact I was printing it by hand - thank goodness for steamrollers! My forearms were cashed but it was a real thrill to finally see the image near completion.

My finished block was printed by the hardworking Roadworks crew on September 29, 2013. It was gratifying to see my finished print and to play a small role in the annual printmaking extravaganza. Big thanks to the staff and volunteers at the San Francisco Center for the Book for an awesome day!

My carved linoleum block.

The crew inking it up.

Carefully laying the paper on the inked block.

Covering it with blankets.

Driving over it with a beautiful old steamroller.

Carefully peeling back the paper.

The finished linocut print featuring San Francisco Bay from the city skyline down to BART's underwater Transbay Tube. Oh, and a giant octopus with a submarine in its tentacles...

Linocut Process: Making the Viking Ship Print from Idea to Completion

My family and I took a wonderful trip to Scandinavia a few years ago and one of the places we visited was the Viking Ship Museum in Oslo, Norway. I was taken with the aesthetics of the old viking ships they had on display and knew I wanted to somehow incorporate them into a print.

Viking Ship Museum in Oslo

I let the idea stew for a while and after illustrating a concept, I started carving a large 21-inch wide block of linoleum (mounted on plywood) last year and researched old Viking proverbs and alphabets (runes). I wanted to incorporate words into the composition and came across this perfect Icelandic proverb, "There seldom is a single wave." The proverb is found online amongst others here and here. I used websites like this one from PBS and here to translate the proverb into runes, as best I could.

Initial carving of the block in 2013

Frustratingly, I got to the point while carving last year where I didn't know how I wanted to proceed so I put the project off to the side for a while. Enter my new jigsaw and an 'aha' moment - I cut the carved block roughly into two halves. After taking some test prints, I realized that the blocks worked so much better printed on top of each other than as a larger reduction print, as I had originally envisioned.

Test printing the two blocks in 2014

I recently printed the final edition and it is now hanging to dry. First, I printed the background lino block in blue. Then I took the second block, which contained the ship and text, and cut the portion of the block with the text off that block. This allowed me to print the second layer as a jigsaw print - one color for the ship and a different color for the text. Once the individual blocks are inked with different colors, they're reassembled and printed with the etching press as one. This is how the final print turned out.

Final linocut print tentatively titled, "There seldom is a single wave"

.

Mark Twain's Lake Tahoe

"...at last the Lake burst upon us—a noble sheet of blue water lifted six thousand three hundred feet above the level of the sea, and walled in by a rim of snow-clad mountain peaks that towered aloft full three thousand feet higher still!" - Mark Twain, from Roughing It.

"A Noble Sheet of Blue Water" - Linocut Print

"A Noble Sheet of Blue Water" - Linocut Print

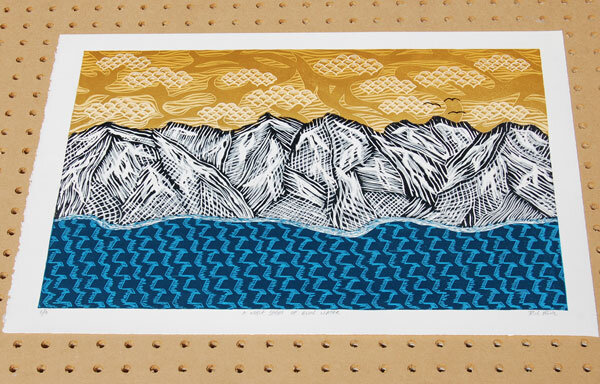
Medium: Seven-Color, Linoleum Block Print

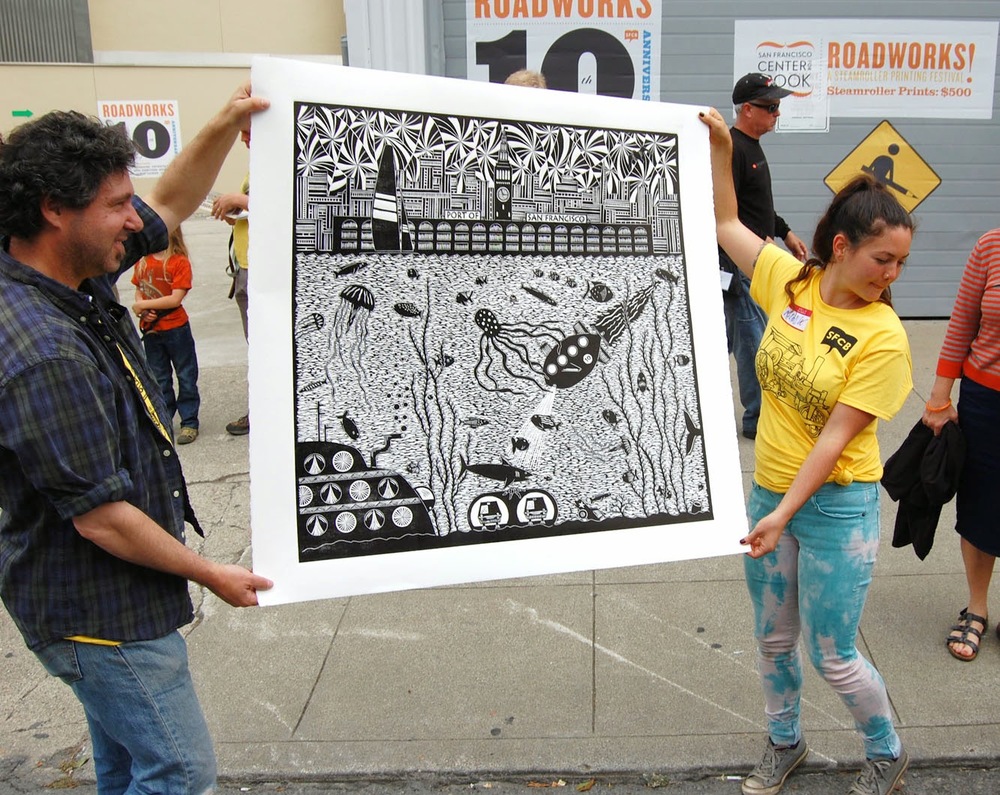
Titled: "A Noble Sheet of Blue Water"

Edition Size: 9

Measures: 13"x19"

Available for purchase at Etsy.com

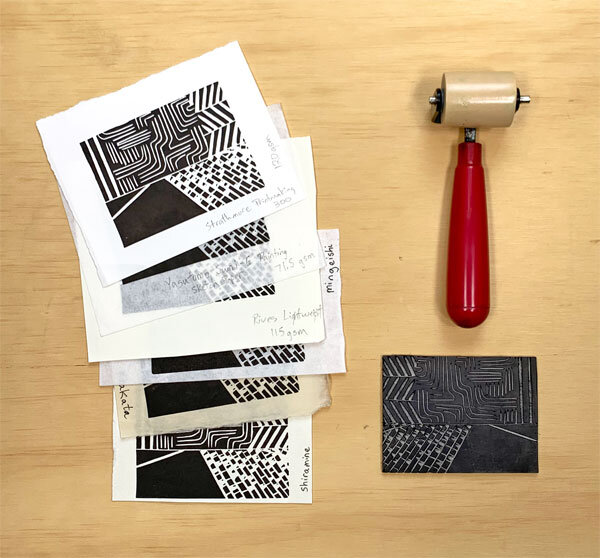
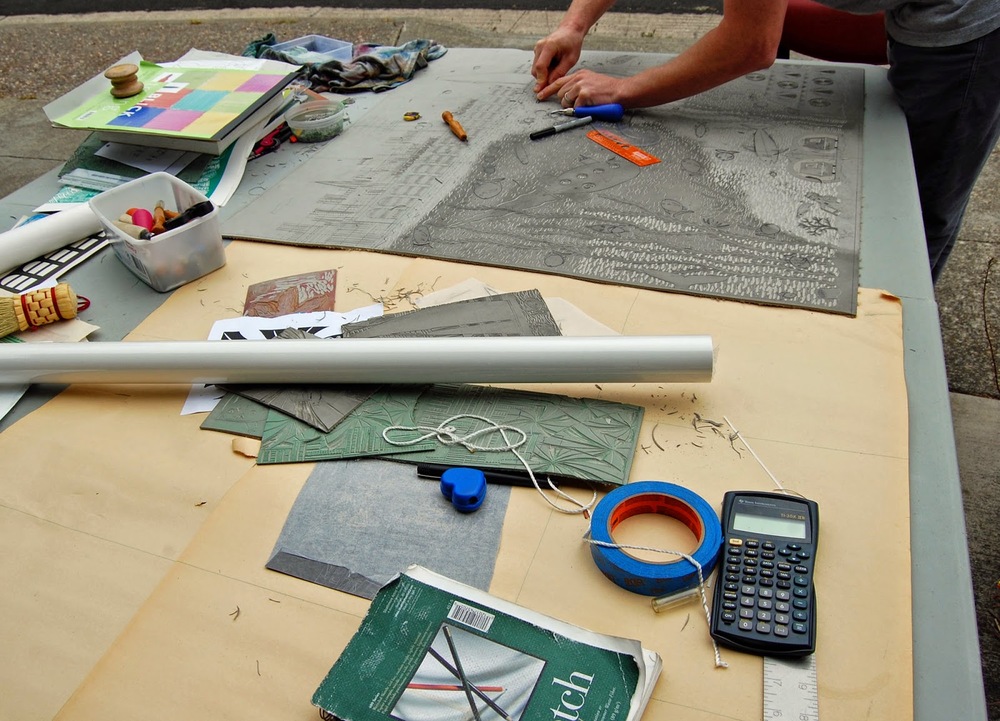
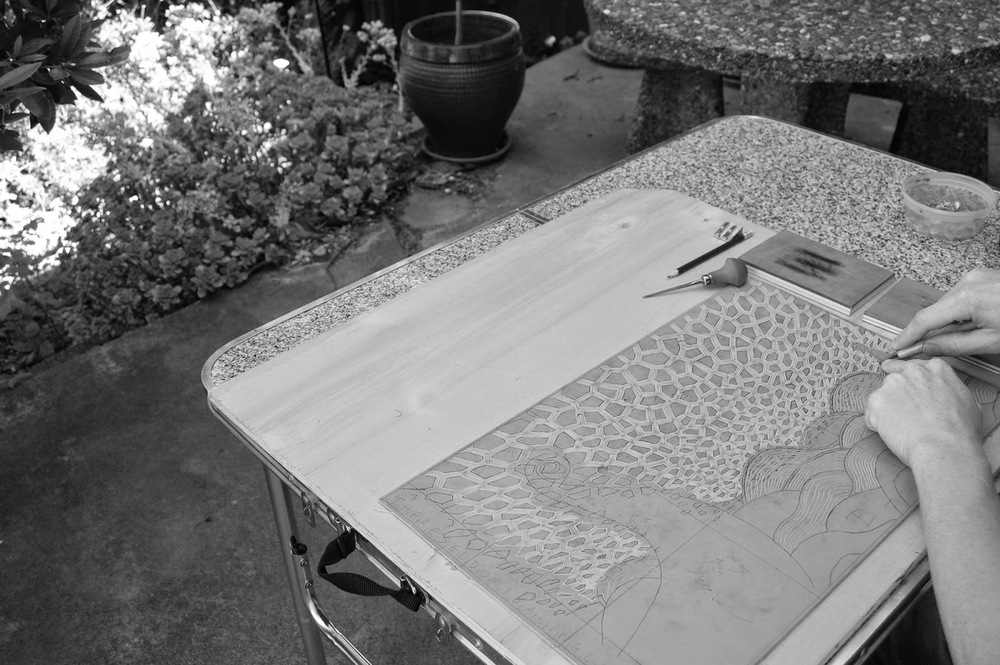
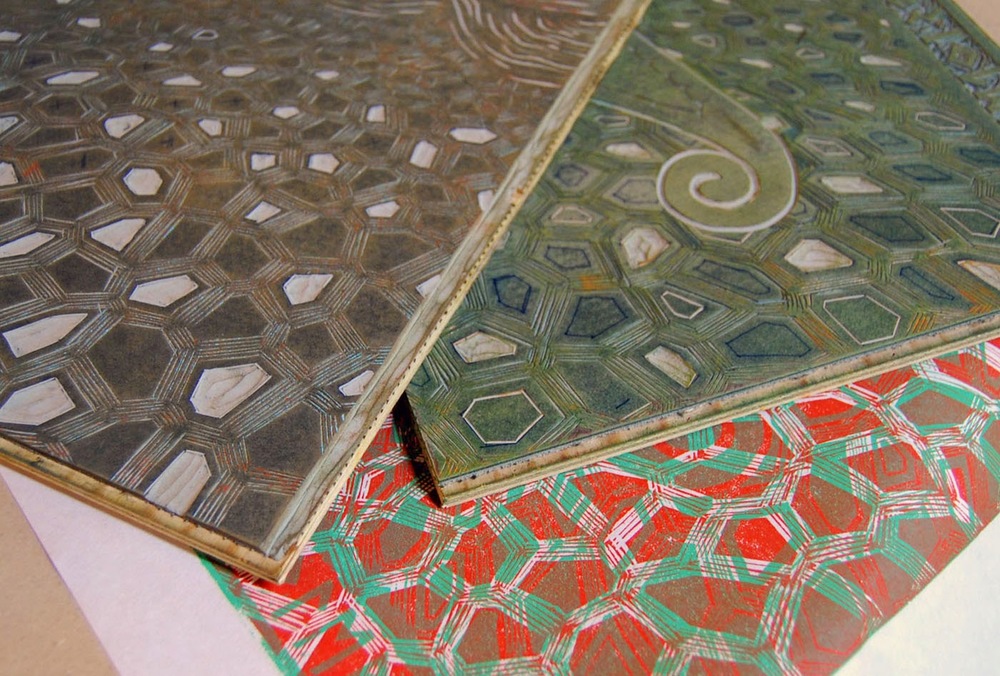
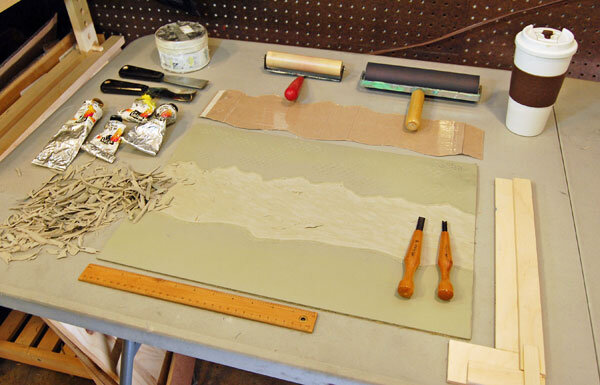
It feels great to have finally finished this print, though it wasn't without its challenges! I've included some work in progress shots below and the first shows the finished carving for the first layer of colors of the print. I laid out my colors of ink, which I mixed on glass for a blue roll on the bottom (water), with a separate yellow roll on top (sky). The top roll is a "rainbow" roll with two tones of yellow, creating a color gradient, which adds a little more time to the printing process but creates a cool effect. I made a little template, which is above the linoleum in the photo, to help keep ink off the middle area of the block, while I rolled ink on the linoleum with the two brayers (rollers).

The wooden device on the right is a homemade registration jig that I put on the etching press to make sure the paper and lino block are lined up correctly, so that each subsequent color layer is printed exactly on the layer below it as the printing process continues. Most importantly, there's coffee.

Lake Tahoe Linoleum Block Print Work in Progress

Lake Tahoe Linoleum Block Print Work in Progress

Next, is a shot of the Lake Tahoe print after the first four colors. I used the reduction method for the second layers on the sky and water. Now, I'm ready to carve the mountains on the second block of linoleum.

The sky and water made using the reduction method

The sky and water made using the reduction method

El Capitan Woodcut & Streetscape Print Work In Progress

Earlier this week I finished a new woodcut of Yosemite National Park's El Capitan and this afternoon I printed the second color of a streetscape print (see the photo below). Today's printing went smoothly and thankfully I was able to mix a workable blue/green color. The next step is to carve a new block for the 3rd, 4th and 5th colors of the linocut print.