Posts tagged registration
Basic Lino Printing Registration Using Con-Tact Paper

I had one of those happy printmaking accidents in the studio this week that I thought I’d share in case someone else finds it useful. Recently, I was using Con-Tact paper and had been saving the backing paper that gets peeled and thrown away. If you don’t know what Con-Tact paper is, it’s that self-adhesive paper that comes in rolls and people use it to line the bottom of drawers and shelves.

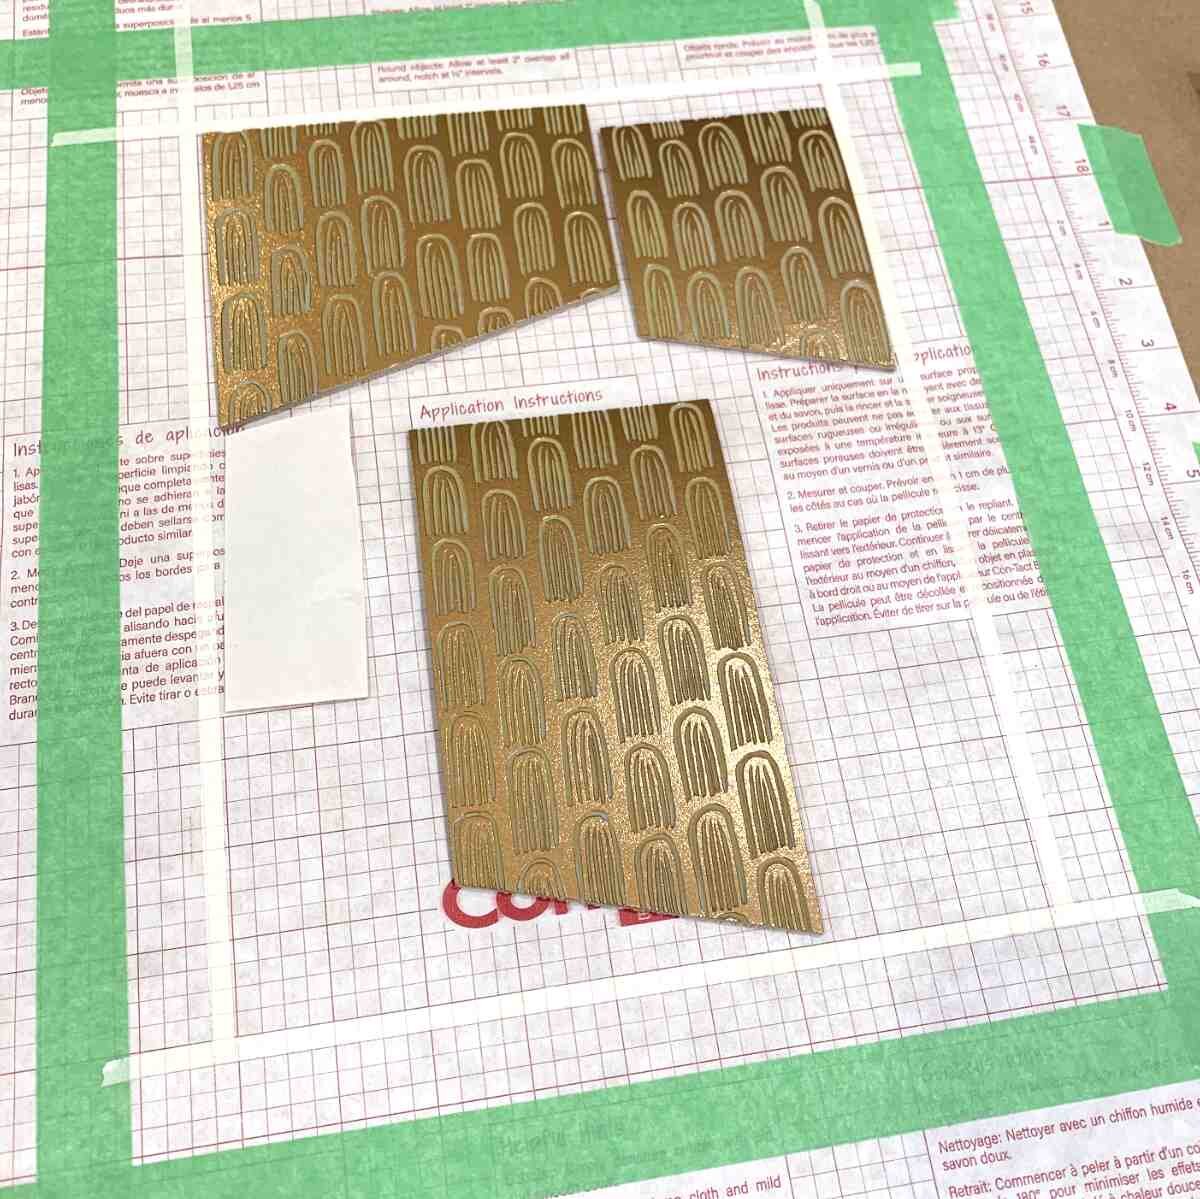
Registering multiple linoleum blocks on the back of Con-Tact paper

Registering multiple linoleum blocks on the back of Con-Tact paper

I’m working on a series of lino prints that requires registering many different linoleum blocks at one time. It occurred to me that the backing paper had a nifty grid printed on it and it might be helpful for lining up my blocks. So, I took a big piece and taped it to my press bed using painters tape. The grid is broken down into 1/4 inch squares.

Linocut Registration Using Gridded Paper

Linocut Registration Using Gridded Paper

In the example in these photos, I lined up my printmaking paper with the grid lines inside the green tape and lined up my inked lino blocks within the thinner, white masking tape. This ensured at least a one inch margin around my linocut print.

An extra benefit of the paper is that it has a somewhat glossy finish, which is nice when working with messy ink.

The gridded paper I was using is from an 18 inch x 9 foot roll of white Con-Tact paper. Specifically, it’s Con-Tact brand adhesive Creative Covering paper - the solid white version. I happen to have it in other patterns (not white) and the grid on those is slightly different, not quite as useful, and has larger squares.

If you have any questions, just let me know!

Mark Twain's Lake Tahoe

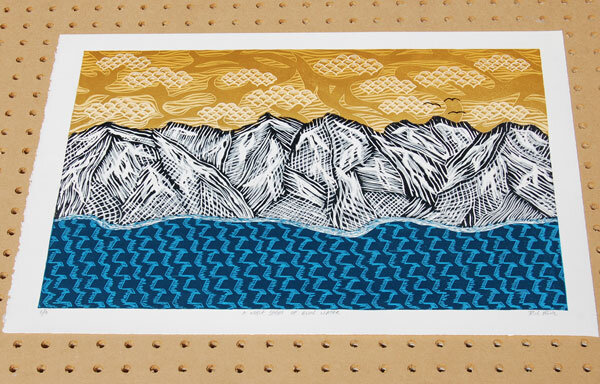
"...at last the Lake burst upon us—a noble sheet of blue water lifted six thousand three hundred feet above the level of the sea, and walled in by a rim of snow-clad mountain peaks that towered aloft full three thousand feet higher still!" - Mark Twain, from Roughing It.

"A Noble Sheet of Blue Water" - Linocut Print

"A Noble Sheet of Blue Water" - Linocut Print

Medium: Seven-Color, Linoleum Block Print

Titled: "A Noble Sheet of Blue Water"

Edition Size: 9

Measures: 13"x19"

Available for purchase at Etsy.com

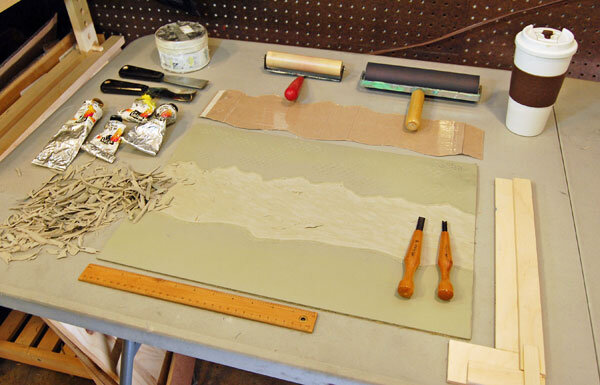
It feels great to have finally finished this print, though it wasn't without its challenges! I've included some work in progress shots below and the first shows the finished carving for the first layer of colors of the print. I laid out my colors of ink, which I mixed on glass for a blue roll on the bottom (water), with a separate yellow roll on top (sky). The top roll is a "rainbow" roll with two tones of yellow, creating a color gradient, which adds a little more time to the printing process but creates a cool effect. I made a little template, which is above the linoleum in the photo, to help keep ink off the middle area of the block, while I rolled ink on the linoleum with the two brayers (rollers).

The wooden device on the right is a homemade registration jig that I put on the etching press to make sure the paper and lino block are lined up correctly, so that each subsequent color layer is printed exactly on the layer below it as the printing process continues. Most importantly, there's coffee.

Lake Tahoe Linoleum Block Print Work in Progress

Lake Tahoe Linoleum Block Print Work in Progress

Next, is a shot of the Lake Tahoe print after the first four colors. I used the reduction method for the second layers on the sky and water. Now, I'm ready to carve the mountains on the second block of linoleum.

The sky and water made using the reduction method

The sky and water made using the reduction method

Never had this problem before

Tonight I was excited to print the third color of my streetscape print and I immediately ran into a problem. The third layer wasn't lining up with the two layers underneath. Yikes! It was 2-3mm too short, which doesn't sound like a lot, but is easily seen by the eye of the viewer. It threw me for a complete loop. Frustrated and perplexed, I started troubleshooting. What was I doing wrong? I even had a test print from last weekend that showed the third layer printing just fine.

Then it dawned on me. We've had very heavy rain all week, which increased the humidity drastically and stretched the paper. The stretching of the paper probably threw the registration of the layers out of wack. A quick Google search for an answer confirmed my hunch. So I put the brakes on tonight's print run after losing the first four prints. I'll wait until the rain abates and hope the paper shrinks back again to the approximate same size. Or am I missing something else?

Fingers crossed.